Add MailAfiniti DNS Records in Cloudflare
MailAfiniti Support
Add MailAfiniti's MX, SPF, DKIM and DMARC records in Cloudflare with one click, or by hand in about 5 minutes. Illustrated step-by-step instructions.
Your domain needs four DNS records in Cloudflare (MX, SPF, DKIM and DMARC) before its email runs through MailAfiniti. MailAfiniti supports one-click setup for Cloudflare, so you usually don't have to type anything.
Before you start: make sure your domain's DNS is on Cloudflare (not sure?), and turn off Email → Email Routing in Cloudflare if it's on. It adds its own MX records that block yours.
Easiest: one-click setup (about 1 minute)
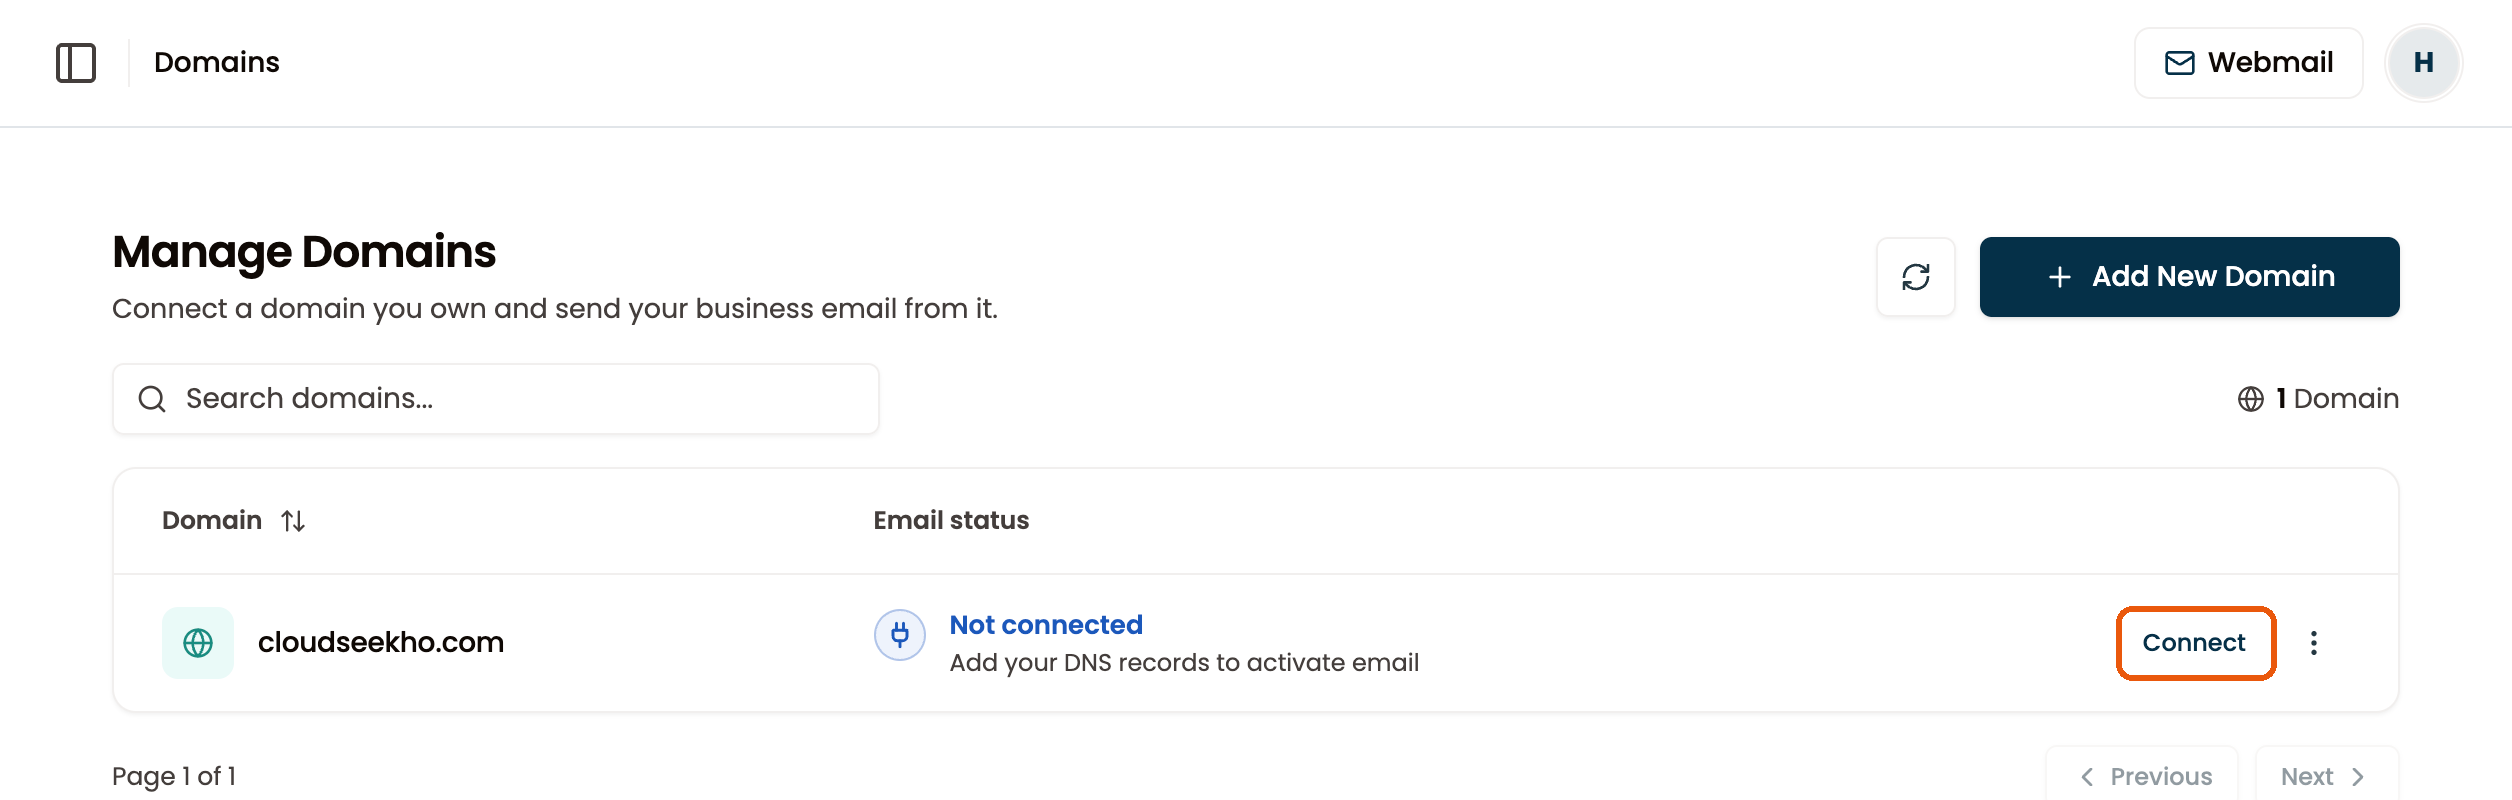
1. In the MailAfiniti customer portal, go to Domains and click Connect on your domain.
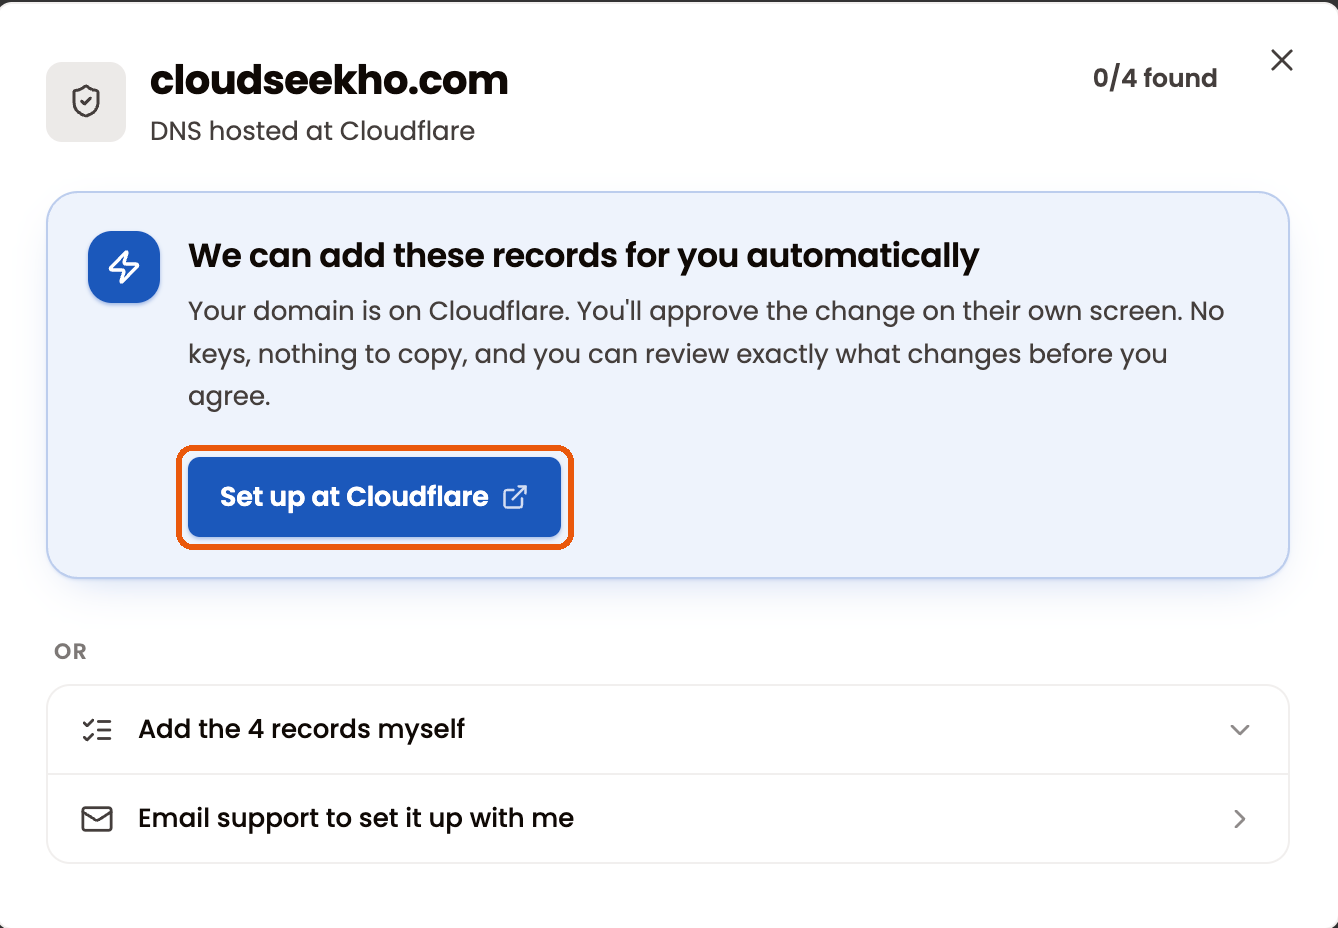
2. Click Set up at Cloudflare. Cloudflare opens, shows you exactly which records will be added, and you click to approve. No API keys, nothing to copy.
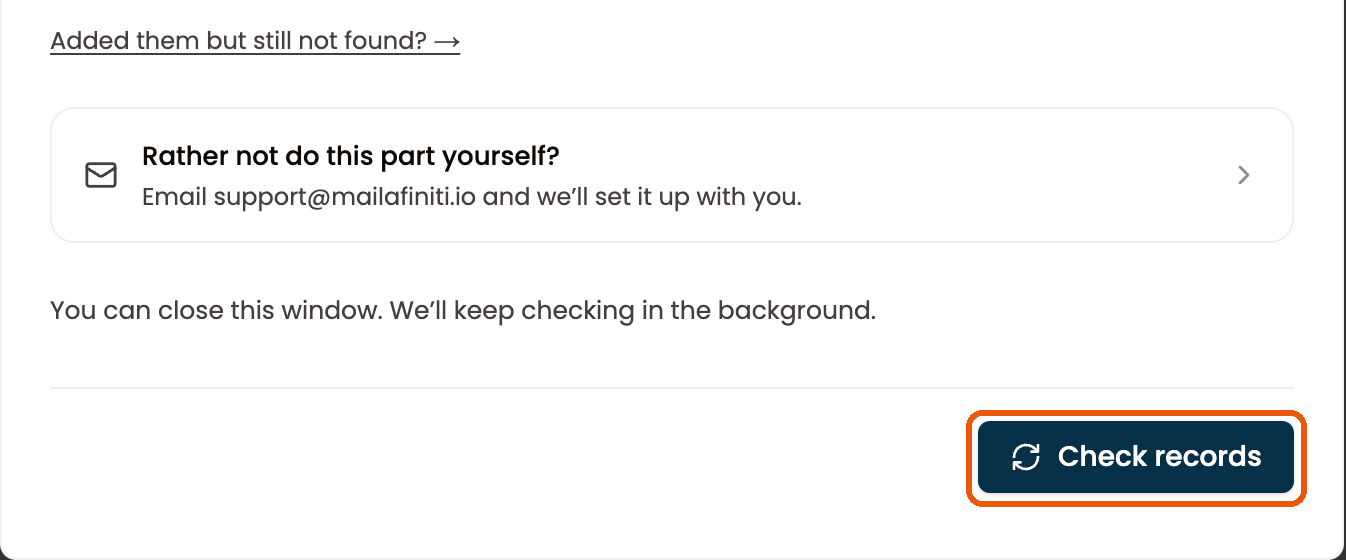
3. Back in the portal, click Check records (Step 8). That's it.
Manual setup (about 5 minutes)
Prefer to add the records yourself? In the portal's Connect window, choose Add the 4 records myself and keep it open. You'll copy each value from there.
Step 1: Open your domain
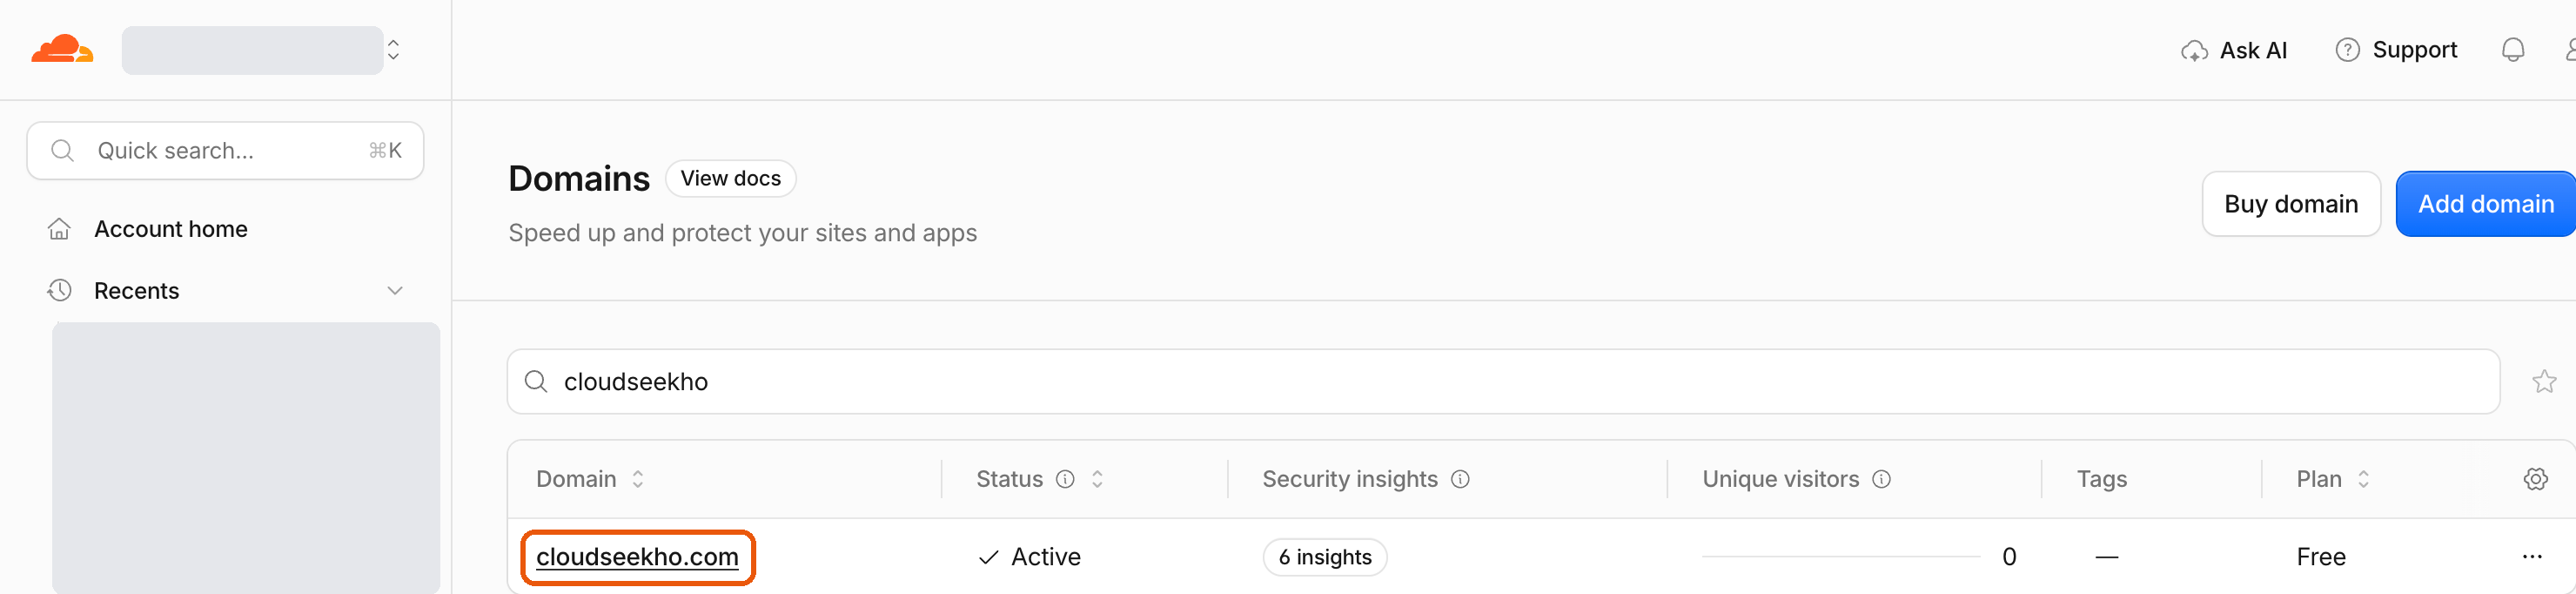
Sign in at dash.cloudflare.com and click your domain.
Step 2: Go to DNS → Records
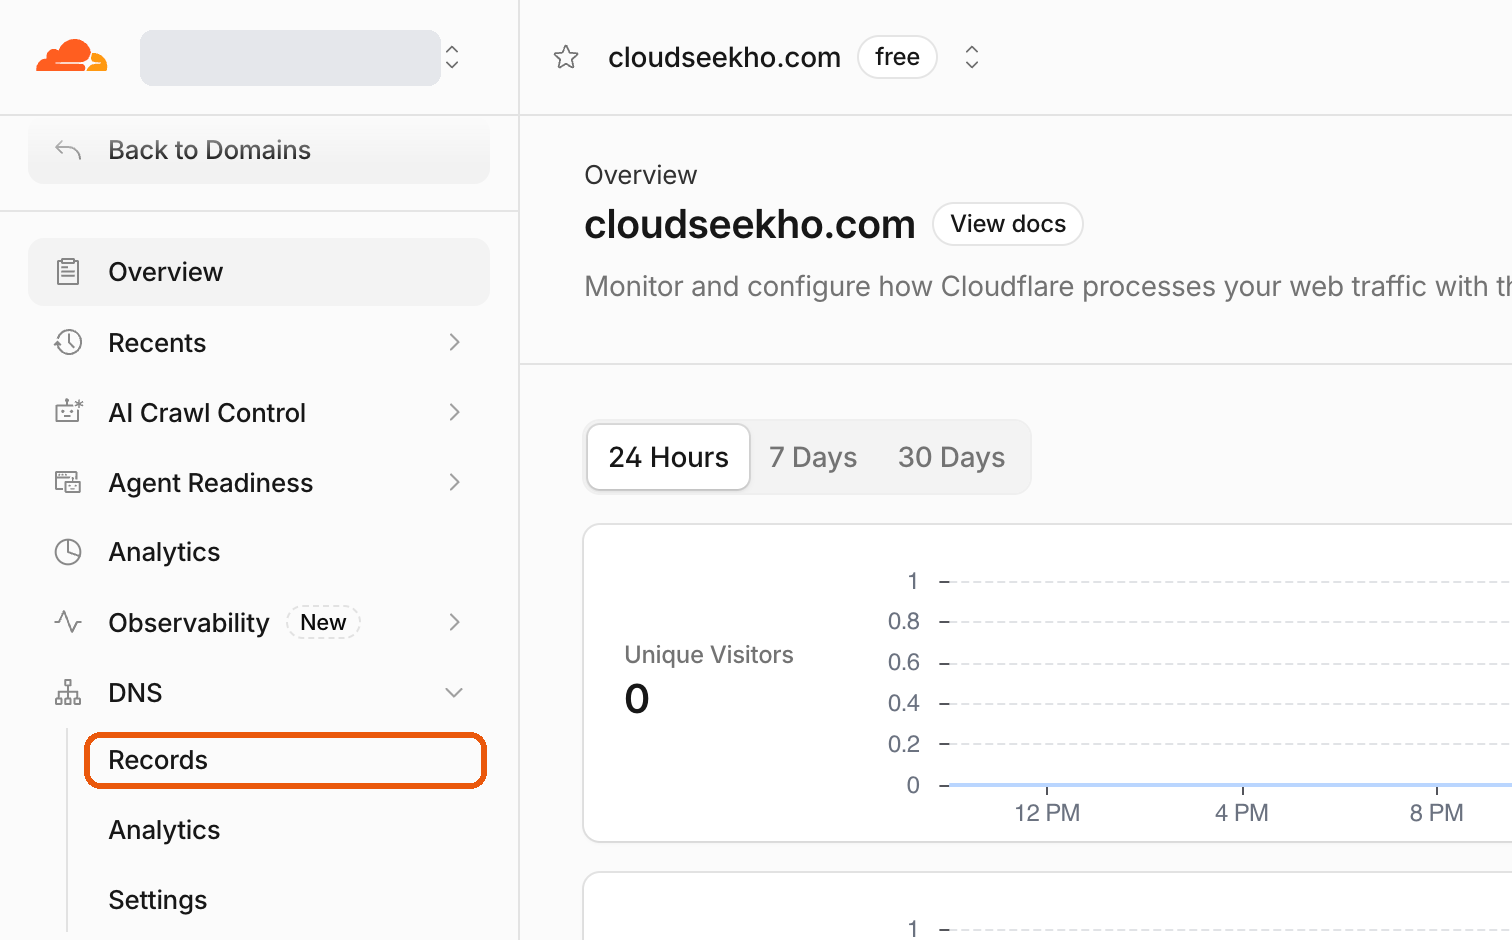
In the left sidebar, expand DNS and click Records.
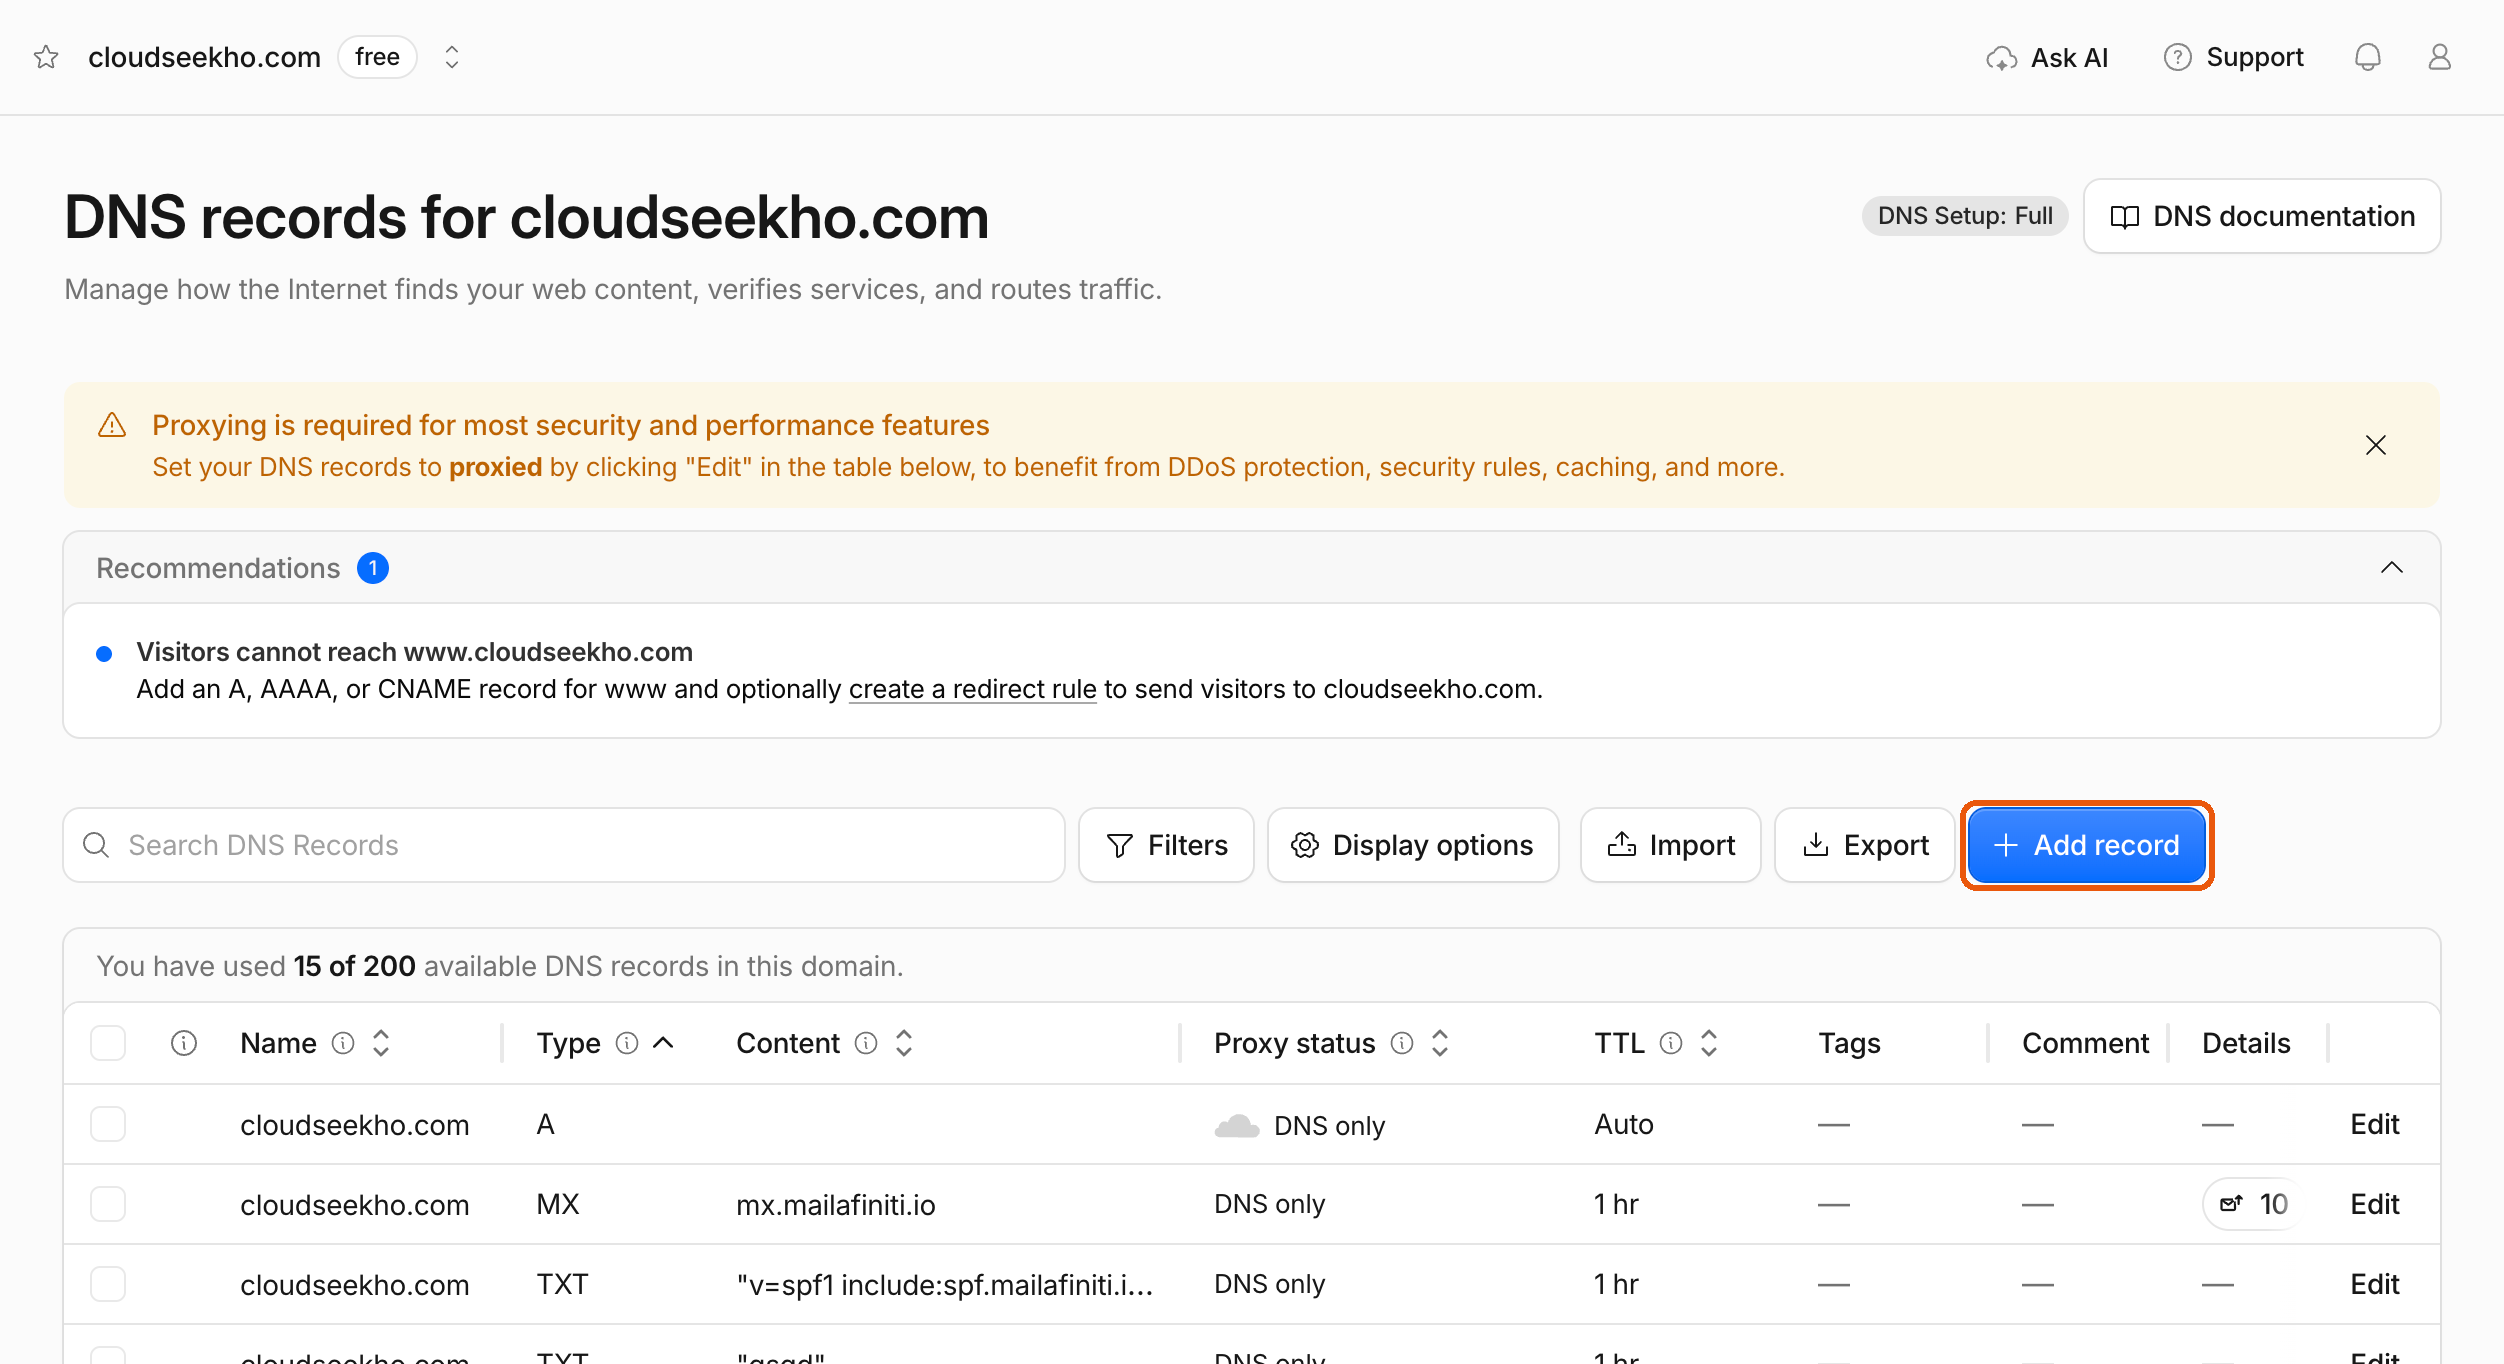
Step 3: Click Add record
Delete any MX records left over from your old email provider, then click Add record.
Step 4: Add the MX record
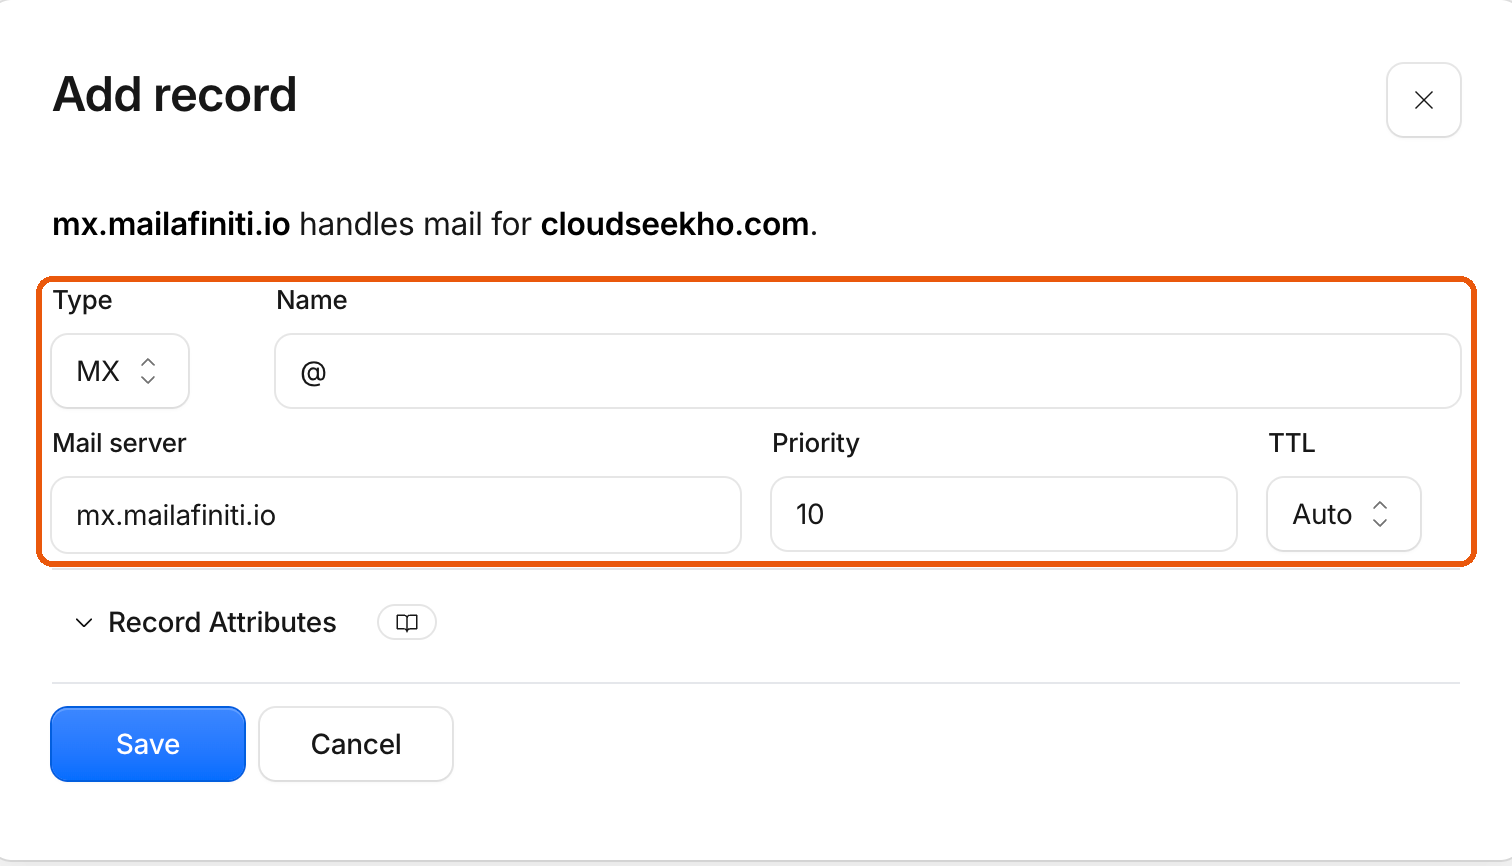
Set Type to MX, Name to @, Mail server to mx.mailafiniti.io (as shown in the portal) and Priority to 10. Click Save.
Step 5: Add the SPF record
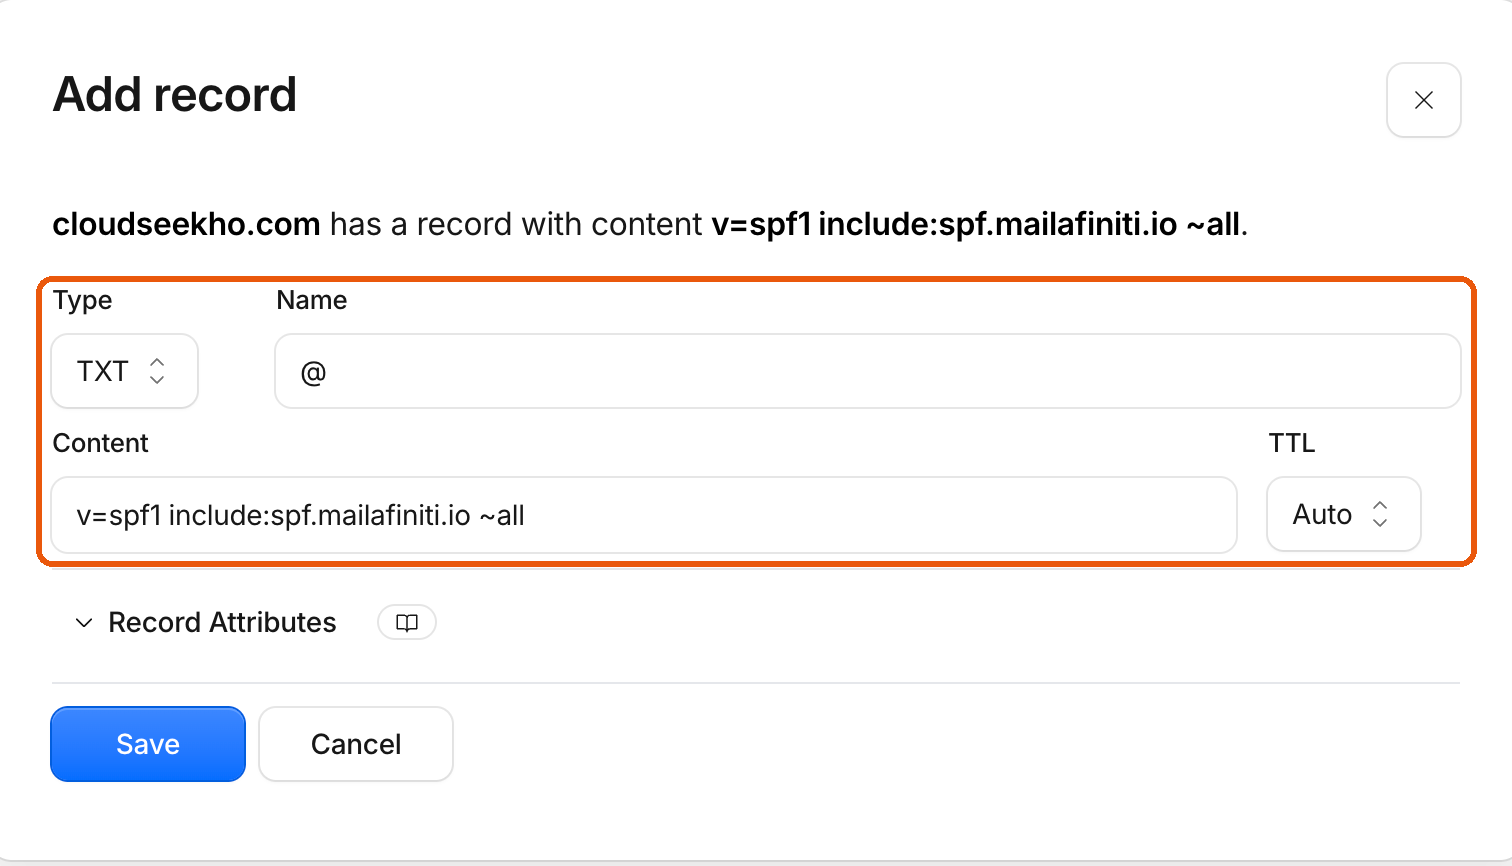
Click Add record again. Set Type to TXT and Name to @, then paste your SPF value from the portal into Content (it starts with v=spf1). Click Save.
Already have a record starting with
v=spf1? Edit that one and addinclude:spf.mailafiniti.ioinstead. Two SPF records break both.
Step 6: Add the DKIM record
Click Add record again. Set Type to TXT and Name to dkim._domainkey, then paste your DKIM key from the portal into Content (it starts with v=DKIM1). Click Save.
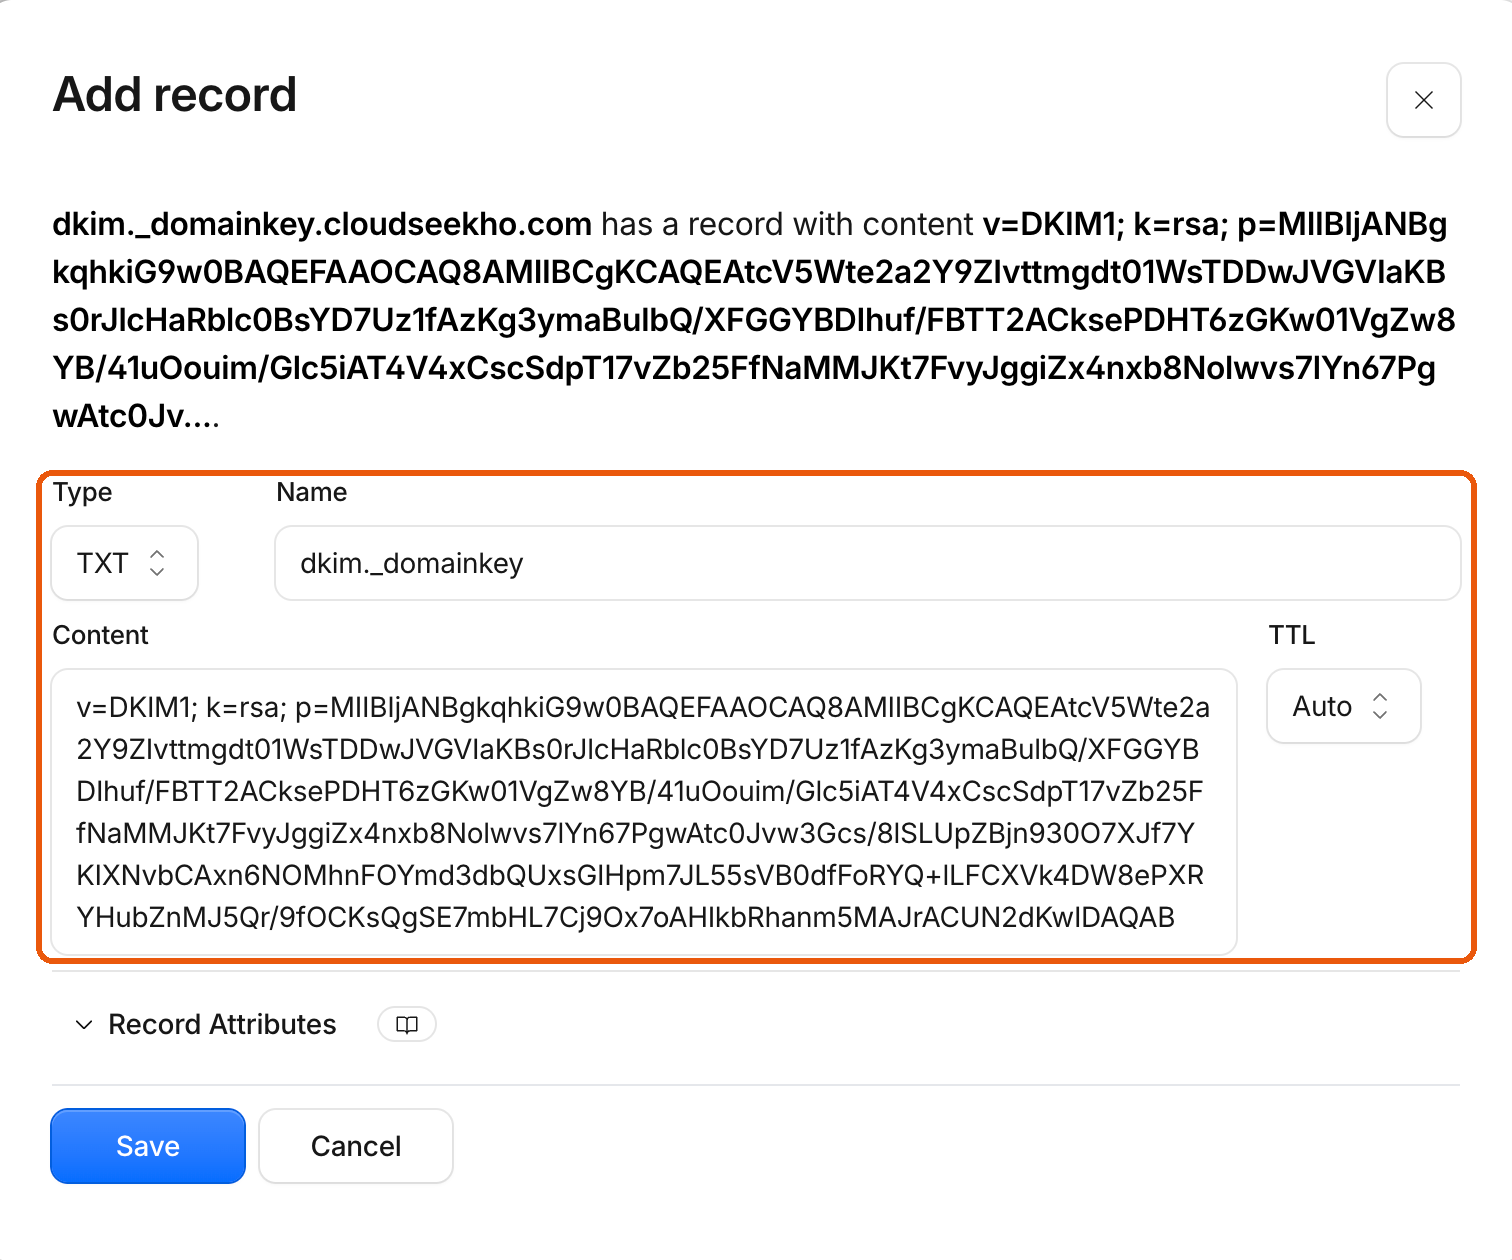
Your DKIM key is unique to your domain. Copy yours from the portal, not the one in this screenshot.
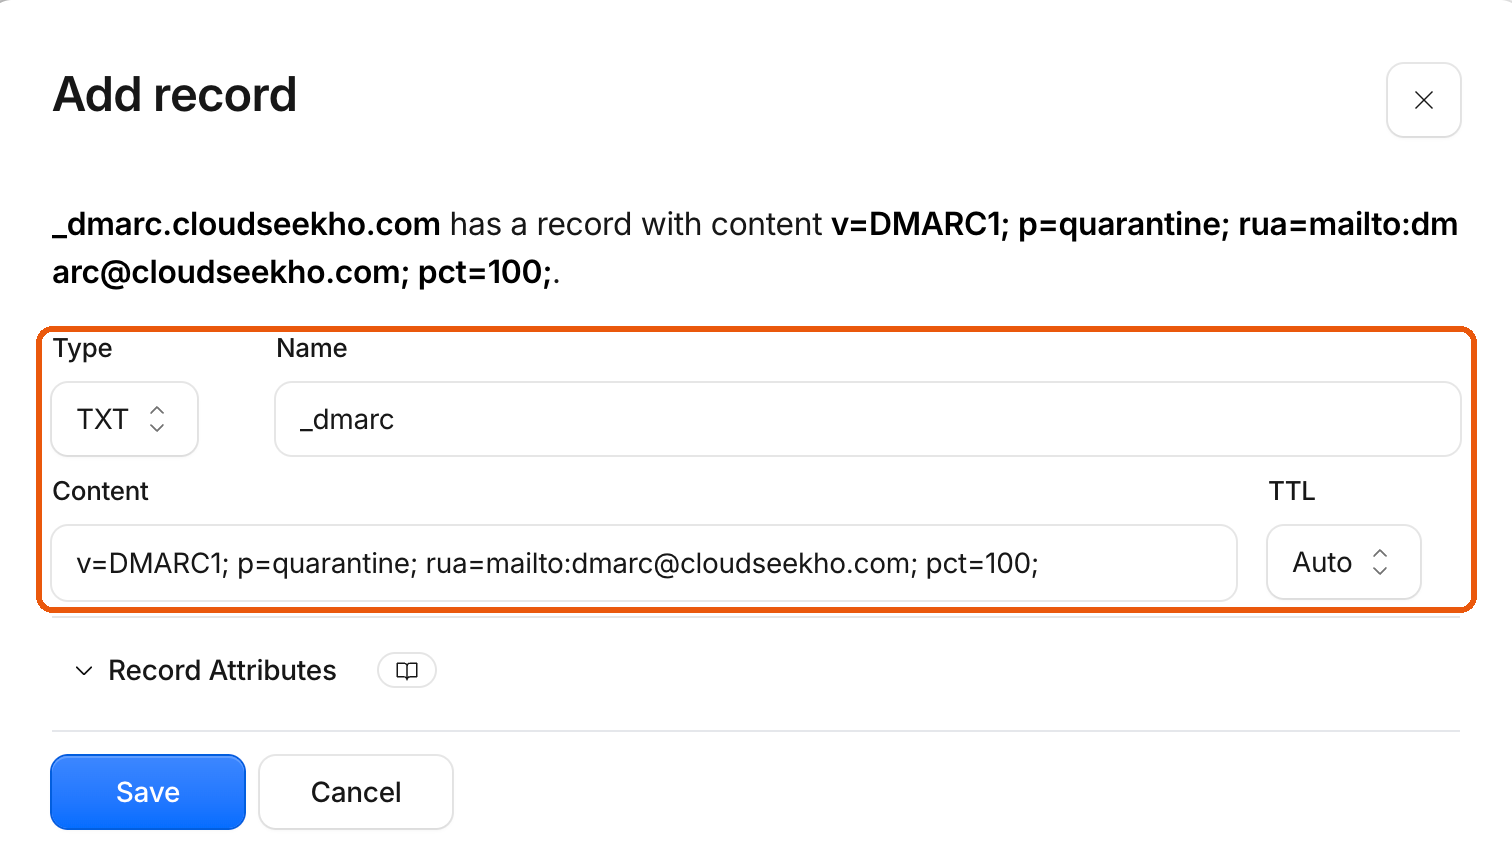
Step 7: Add the DMARC record
Click Add record again. Set Type to TXT and Name to _dmarc, then paste your DMARC value from the portal into Content (it starts with v=DMARC1). Click Save.
Step 8: Verify in the MailAfiniti customer portal
In the portal, click Connect on your domain, then Check records. Cloudflare usually publishes changes within a few minutes.
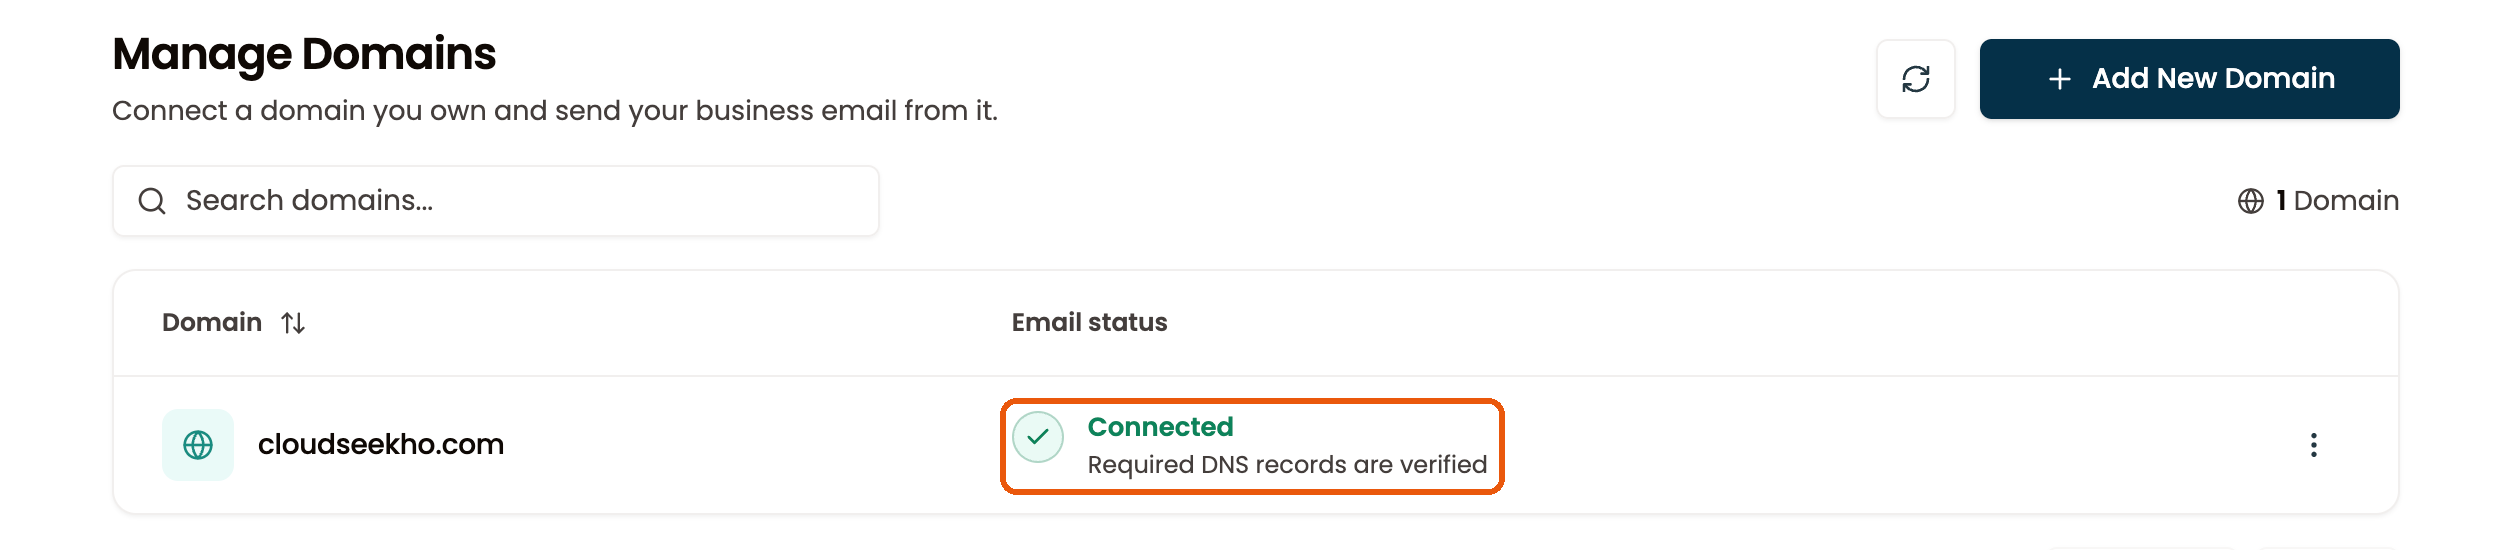
When all four records are found, your domain shows Connected.
Not verifying? See Records not verifying, check your live records with the Email Health Check, or email support@mailafiniti.io with your domain name.